They began to succumb to the pressures of the vehicular “Greenhouse” effect that had been initiated long ago in Arizona. As the material deteriorated deeper and deeper into a fragile state that would not support the spring tension any longer, and the Duct Tape was starting to cover more of the shades than the material;
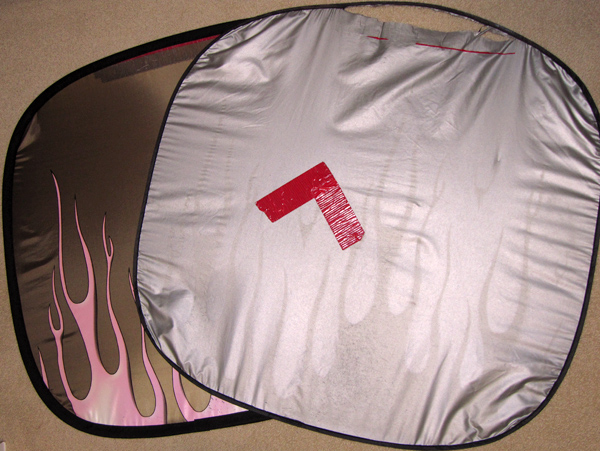
I stepped up efforts in looking for an answer as to what I could do to fix it. The spring-wire frames are still in great condition; and I am somewhat attached to the flames that were so fitting in Arizona’s “Dry Heat”!
I eventually discovered the Discount Fabric Warehouse (DFW) in Kailua-Kona. This discovery got me interested in sewing again and began my obsession with Machine Embroidery.
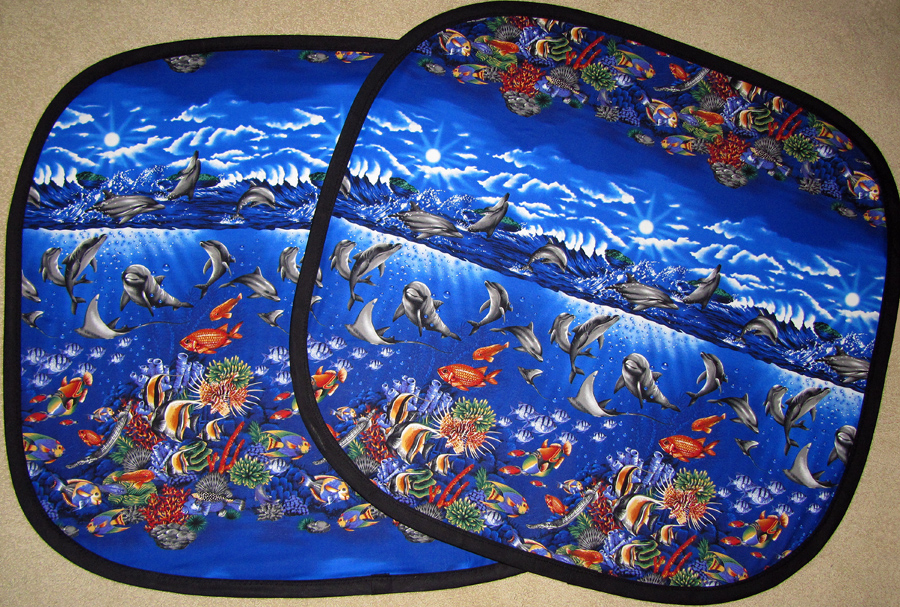
During one of my visits to DFW for supplies to embroider, I found the perfect material to revamp my Flaming Sun Shades from the plain back side and leaving the flames visible. Now I need to figure out how to sew it on the frames and it will still fold up into a nice neat package that fits under my passenger seat.
Another few visits to DFW and I spotted the extra-wide double-fold bias tape. Three packages in black were chosen to be certain that I would have enough to bind both shades all the way around, plus a little more just in case I made a measurement error. I only needed two of them so one went in the materials on-hand drawer.
I had recently started using spray adhesives of varying permanency and used one that was removable as well as re-positionable if I didn’t like its angle or an annoying bubble formed. I now had all the parts and tools that I needed to revive my favorite sun shades!
After deliberating the process and procrastinating to delay the cutting of the fabric, I worked up my nerve to dive in with rotary cutter in one hand and ruler in the other 🙂 After washing the piece of fabric to remove the chemical sizing, and preshrink it, I looked it over to decide where I wanted the pattern to be cut. Then considered what impression that positioning would give.
Then the measure, measure, cut process. It all went quite smoothly and quickly after I finally started on it. I am very happy with the end result and I can put the flames in and the ocean scene out or vice verse! 😀